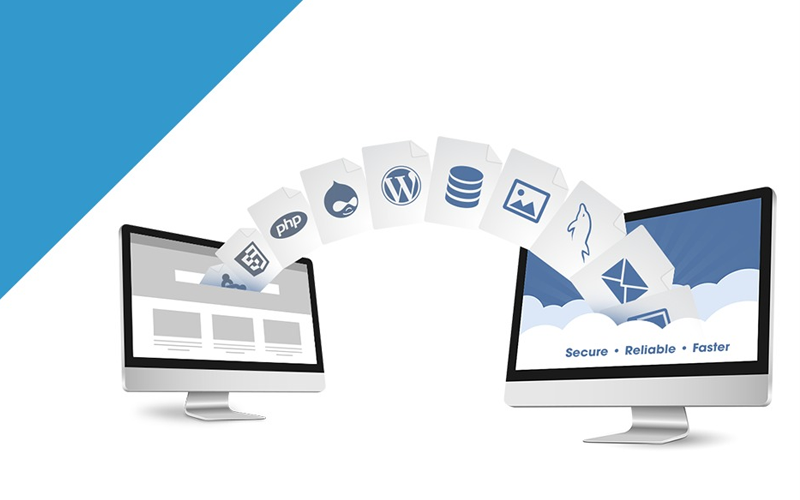
If you’re facing slow website speed due to increasing traffic, that may overload the server, then this is the time you should move your website to a better hosting server. But when you switch your WordPress website to another host/server, there’s a risk to face potential downtime that looks unprofessional, may cause inconvenience for your website visitors or can let you lose them. Thus, we’re sharing a step by step guide here on how to successfully migrate your website with zero downtime.
Note that some web hosting providers offer free migration services but they do not guarantee 100% uptime during the switching process so it’s better to have it done by yourself. It’s easy! Let’s get to know how.
Step 1: Choose Your New WordPress Host First
Even after optimizing your website’s speed if you face slow speed, it’s time to choose a new host for your website which can handle a big amount of traffic smoothly. But this time, be careful so that you do not need to move again. Do good research and select the one who can meet all your future expectations. If you’re using shared hosting now then we recommend you to go for a dedicated server or cloud hosting.
Now when you’ve chosen your new host then make sure to have both old and new host’s details saved, including FTP (File Transfer Protocol), we recommend FileZilla. You can delete unwanted or unnecessary files (Cache, unused themes/plugins, spam/trash comments etc.) to make the migration process faster.
Step 2: Install “Duplicator”
There’s a free plugin named “Duplicator”, this WordPress tool is used to move websites to new domains without losing SEO.
Install it and activate on your old website. In your WordPress admin area, go to Duplicator → Packages → Create New.
Now go to “Requirements” option and ensure if all requirements pass then click “Next“. Click “Scan“, now after being the scan processed, check if all scans show “Good” status. Now click on “Build” tab then click “Archive” and download the zip file of your WordPress site.
At last, click “Installer” and download the PHP file. And your backup is completed. Jump to step 3 now.
Step 3: Import the Old WordPress Website to New Host
Now upload both Installer and Archive files to your new web host. You can use FTP for this step. Just enter new host’s IP address or Server Hostname (Find this info in new hosting account’s cPanel dashboard) in the FTP settings so that the files start transferring to the new server.
You need to ensure that the root directory is completely empty before uploading the Archive.zip and Installer.php files.
Step 4: Change the Host’s File to Ensure Zero Downtime
When the files’ upload process is finished, access file- “Installer.php” in a browser. You’ll see a 404 error because your domain is still pointing to the old web host. To get over this issue, change hosts file on your computer.
Change of this file lets your new domain to be accessed through your IP address only.
First of all, find your new domain’s shared IP address. Find it in your cPanel dashboard, click on “Expand Stats” and note your Shared IP Address.
Now go to Programs → All Programs → Accessories. Right click on “Notepad” and click on “Run as Administrator”. Click on File → Open now and access C:\Windows\System32\drivers\etc to select host file. Open it and enter the new domain’s shared IP address to access the new host from your computer.
This whole process guarantees that there’s no downtime. While the migration is taking place, people can access your website on your old web host. When you are contented that your new hosting service is running, delete the changes you did to the host’s file.
Step 5: Start the Migration Process
Now when you can access your new domain from your computer, run “Installer.php” in a browser. At the start, the database name will be asked by the installer program. You can create it with the new host’s cPanel. In the Installer setup’s right fields, enter database username and password. Once you’re done with it, click on “Test Connection” to verify the link establishment with your domain. When the connection is established, scroll down, accept “Warnings and Notices” and click on “Run Deployment”. Now your old database shall start importing.
Now the installer will ask for the URL pathways’ verification. Check its accuracy and go to “Run Update” to finish the process.
Check if all the processes are running. Click on each of them orderly to check if they’re working properly. At the end, delete the changes you made in the Windows host’s file in the previous step.
Step 6: Change Your Domain
Now you’ve created an entire copy of your WordPress website on the new hosting server. However, your domain is still pointing to your old hosting account. You have to change DNS Nameservers to take your visitors to the new WordPress website’s location. It’s better to transfer your domain too to the new host. For this, you just need to update your ‘Nameserver’ that looks somewhat like- “ns1.hostname.com”.
In your “Domain Management” section, you can find Nameserver details. In the “Nameserver Settings”, enter the new DNS Server information. This process may take 4 hours to 2 days to fully propagate to the users.
Tip: If you know a day of the week when your website gets the least amount of traffic, choose that day for the migration process.
Tip: To be on safe side, do not close your old host’s account for a week at least.
We hope that this step by step tutorial will help you to move WordPress website with zero downtime whatsoever.
Check out our latest WordPress Themes here!

